Media Library
How videos and subtitle files are managed inside GeekLink.
Import videos for hardcoded-subtitle extraction.
Import videos for speech recognition.
Import a video and its source subtitles for translation.
Overview
The Library follows the task you chose on the home screen and shows the controls and demo relevant to that workflow.
Adding Videos
There are two ways to add videos to the media library:
- Drag and drop: Drag video files directly into the import area at the top of the screen
- Pick files button: Click "Pick files" to choose one or more videos
- Pick videos button: Click "Pick videos" to choose one or more videos
The import area lists the supported file formats: .m4v, .mkv, .mov, .mp4, and .webm. Use the "Refresh library" button beside it to reload the list if needed.
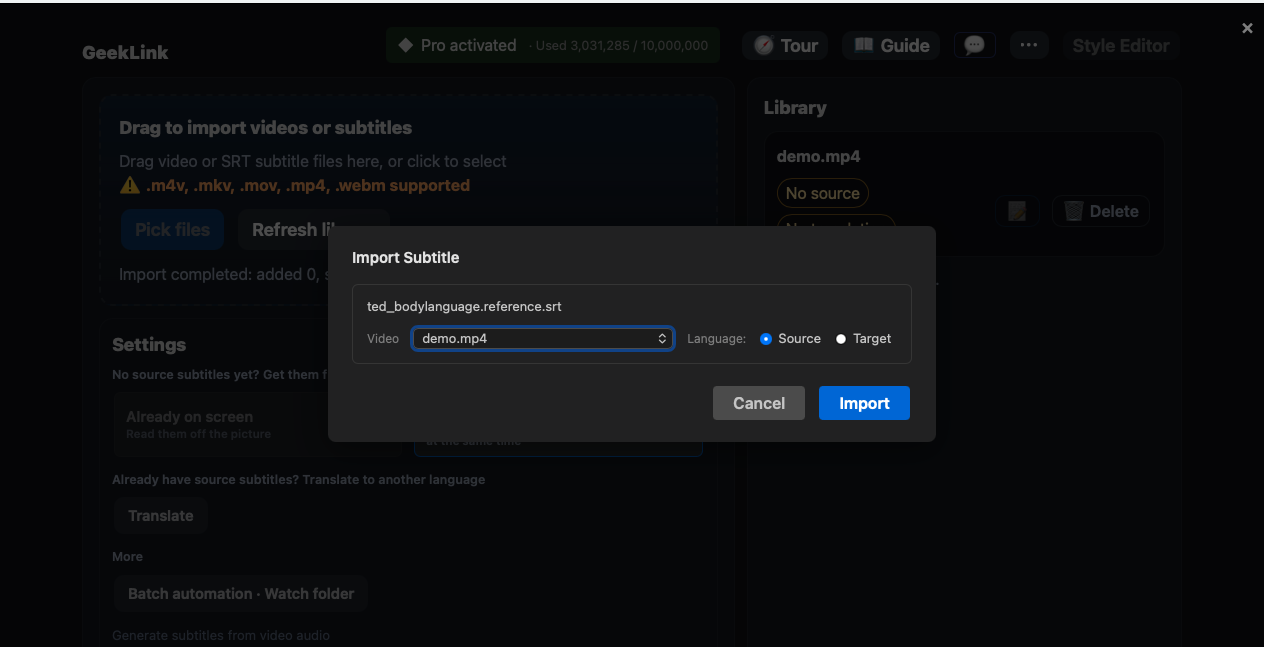
Import SRT
Drag the .srt file into the workspace, then assign it to a video as the source or translated track.
Extract Embedded Subtitles
When a video file contains embedded subtitle tracks (toggleable subtitles stored in the video container) and no source subtitles yet, the media library displays an "Embedded Sub" badge on the video entry. Click the badge to extract the track as the source-language subtitles; if the file has more than one track, you are prompted to choose which one to extract.
Video Status Badges
Each video entry in the media library displays status badges indicating the current state of its subtitles:
- Source / No source: Whether the video currently has source-language subtitles
- Translated / No translation: Whether the video has translated subtitles
- Embedded Sub: The video file contains an embedded subtitle track that can be extracted
Starting Tasks
The app starts with three focused task choices:
- Extract hardcoded subtitles (OCR): read subtitles already visible in video frames.
- Transcribe speech: create source subtitles from spoken audio.
- Translate subtitles: translate an existing source track or imported SRT.
The Library follows the current task and shows only its matching demo. Watch Folder is available in Transcribe and Translate, not OCR.