Getting Started
From installation to completing your first subtitle task in just a few minutes.
System Requirements
| Item | Minimum Requirement |
|---|---|
| Operating System | macOS 12 Monterey or later |
| Processor | Apple Silicon (M1/M2/M3/M4) or Intel |
| Memory | At least 4 GB (8 GB or more recommended for better recognition performance) |
| Disk Space | Approx. 1 GB (including recognition models) |
Installation
- Download the installer Go to geeklink.dev and click "Free Download" to get the latest DMG installer.
- Open the DMG and drag to Applications Double-click the downloaded DMG file and drag the GeekLink Subtitle Factory icon into the Applications folder.
- Launch for the first time Double-click GeekLink Subtitle Factory in your Applications folder to start the app.
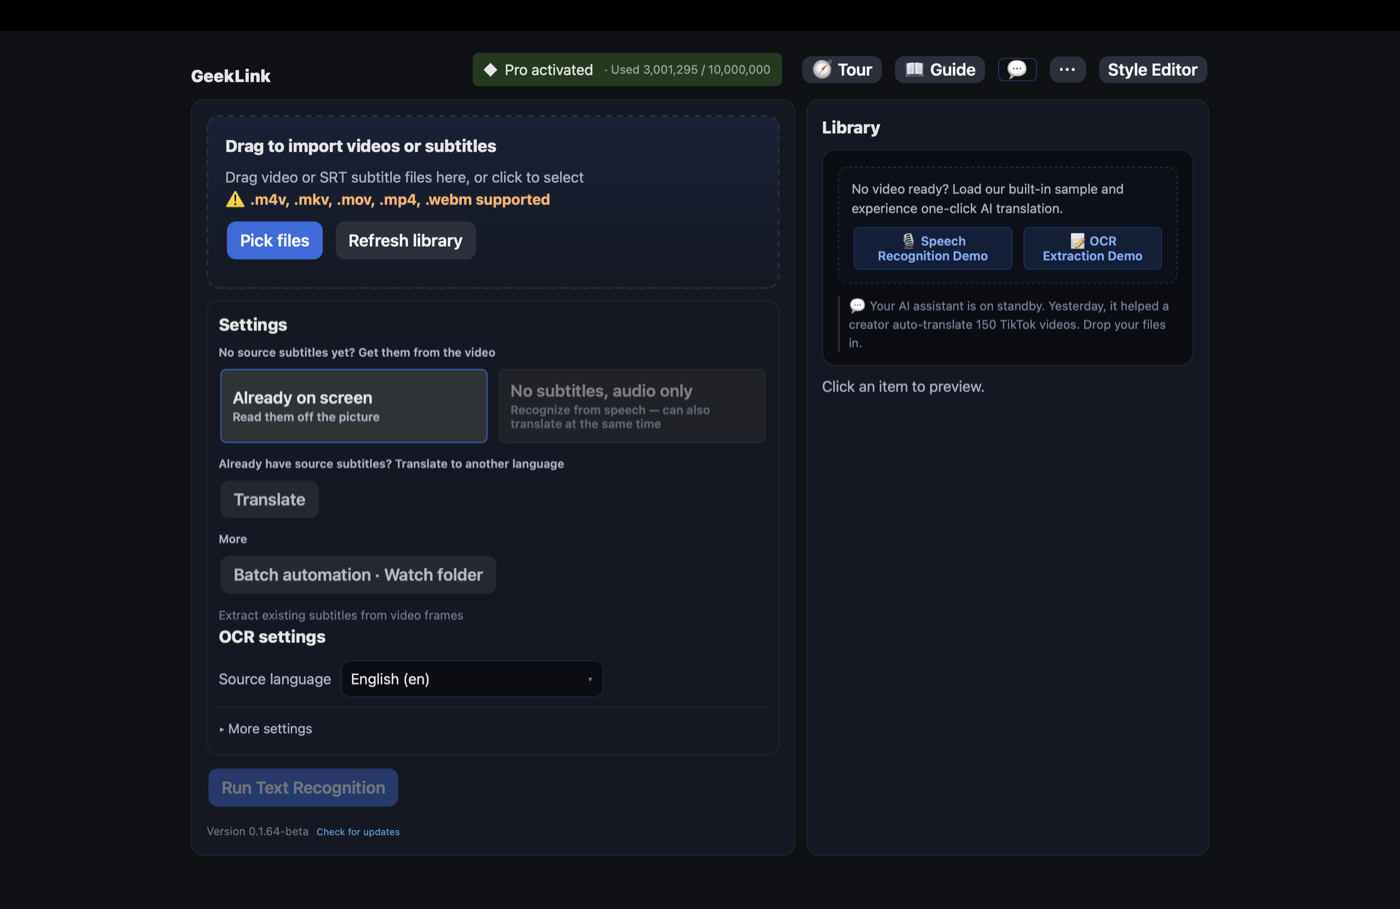
Interface Overview
The main interface is divided into three areas:
- Left — Import + Settings panel: Drop in a video (or an existing subtitle file), then pick what to do based on what you already have
- Right — Media library: A list of imported or dragged-in video files
- Top — Toolbar: Onboarding tour, user guide, feedback, style editor, and more
The settings panel doesn't expect you to know any jargon — it just asks what you have and gives you the matching path:
- No subtitles yet? Recognize them from the video
- Already on screen — read the subtitles off the picture (this is OCR)
- No subtitles, audio only — recognize subtitles from speech; tick "Also translate to another language" if you want both at once
- Already have subtitles? — translate them into another language (you can also import an existing SRT and translate that)
- More — Batch automation — watch a folder and automatically process new videos
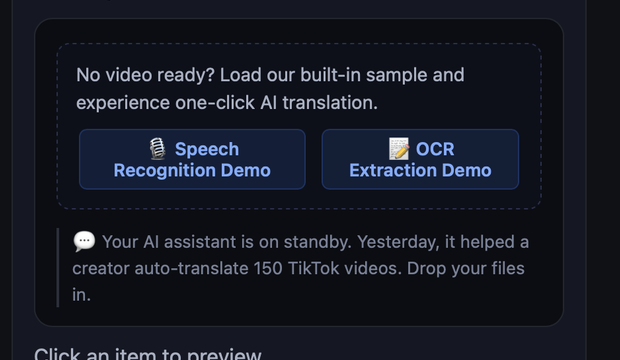
Load Demo Videos
Want to try things quickly but don't have a suitable video on hand? When the media library is empty it shows two demo buttons — "Speech Recognition Demo" and "OCR Extraction Demo" — click one to drop the matching built-in demo clip into your library and run the whole flow.
Run Your First Task
Here's the "recognize subtitles from speech, and translate at the same time" flow:
- Import a video Drag a video into the import area on the left, or — when the library is empty — click "Speech Recognition Demo" to load a built-in clip.
- Pick "No subtitles, audio only" Choose this option in the settings panel to recognize subtitles from the spoken audio.
- Tick "Also translate to another language" Once ticked, choose the target language (the language you want to translate into) to do recognition + translation in one step. Leave it unticked if you only want the original-language subtitles.
- Select videos and run Check the videos you want to process in the right media library, then click the Run button. A progress bar shows the processing status in real time.
- View the results Once processing is complete, click the 📝 icon next to the video in the media library to open the subtitle editor and view or edit the generated subtitles.
Tip
The first time you use a new recognition model, the system will automatically download the model file. Please be patient. Once the download is complete, subsequent uses will start recognition immediately.
Next Steps
Congratulations on completing your first subtitle task! You can now explore each feature in depth:
- Speech Recognition — Learn about different recognition models and language settings
- Text Recognition (OCR) — Extract burned-in subtitles from video frames
- Translation — Explore multiple translation engines
- Subtitle Editor — Fine-tune subtitle content and timecodes
- Export — Export subtitles in various formats
- Keyboard Shortcuts — Boost your editing efficiency